On This Page
Define the inspection result
Write the intended finding before requesting equipment proposals. “Locate
unusual thermal patterns for follow-up” and “report a component's temperature
against a maintenance criterion” place different demands on the camera,
operator, and data package. Our guide to
six levels of drone-inspection evidence
helps distinguish an observation from a supported diagnosis or measurement.
Use the following matrix to decide what the vendor must demonstrate. These are
editorial selection recommendations based on the optical, measurement, and
processing documentation cited below, checked September 7, 2026. They are not
universal inspection standards.
Scroll horizontally to compare all columns.
For broad screening, a non-radiometric image can support visual triage if that
is all the customer requires. It cannot supply temperature values that were
never retained. Do not buy a measurement workflow for a visual task without a
reason, or accept a visual-only workflow for a measurement task.
Match the lens to the smallest target
Native thermal resolution describes the detector's image dimensions. It says
little about target coverage without the lens and distance. The instantaneous
field of view, or IFOV, describes the angle covered by one detector pixel. Use
the manufacturer's value for the exact lens, and distinguish it from the whole
image's horizontal, vertical, or diagonal field of view.
FLIR's
distance-to-size guidance
separates seeing a feature from measuring it and recommends at least a 3 ×
3-pixel area for a spot reading. Treat that as general guidance; request the
proposed camera's actual measurement requirement. Digital enlargement does not
improve measurement accuracy.
Here is an illustrative geometry calculation, not a specification for any
product. Assume an IFOV of 1 milliradian, a camera-to-target distance of 20
meters, a surface approximately perpendicular to the view, and small-angle
geometry:
Approximate pixel footprint = distance × IFOV in radians = 20 m × 0.001 = 0.020
m, or 20 mm per pixel.
A three-pixel-wide area would span about 60 mm. A 20 mm feature would span only
one pixel in this simplified example. Doubling the distance doubles those
dimensions. This calculation estimates sampling; it does not establish
temperature accuracy, account for optical blur, or validate a particular
defect-detection method.
If the target is too small, evaluate a narrower lens, more native detector
pixels, or a closer permitted viewpoint. Also verify minimum focus distance and
gimbal pointing. A lens selected for distant fittings may make close work or
broad-area coverage less convenient. Require original thermal images, rather
than enlarged screenshots, when comparing candidates.
Separate sensitivity from temperature accuracy
Noise equivalent temperature difference, usually abbreviated NETD, expresses
the camera's noise in temperature units. A lower value helps distinguish subtle
thermal differences; it is not an absolute temperature error limit. FLIR's
detector explanation
explicitly distinguishes NETD from accuracy. Compare sensitivity under stated
test conditions, including the lens configuration, rather than treating every
millikelvin figure as interchangeable.
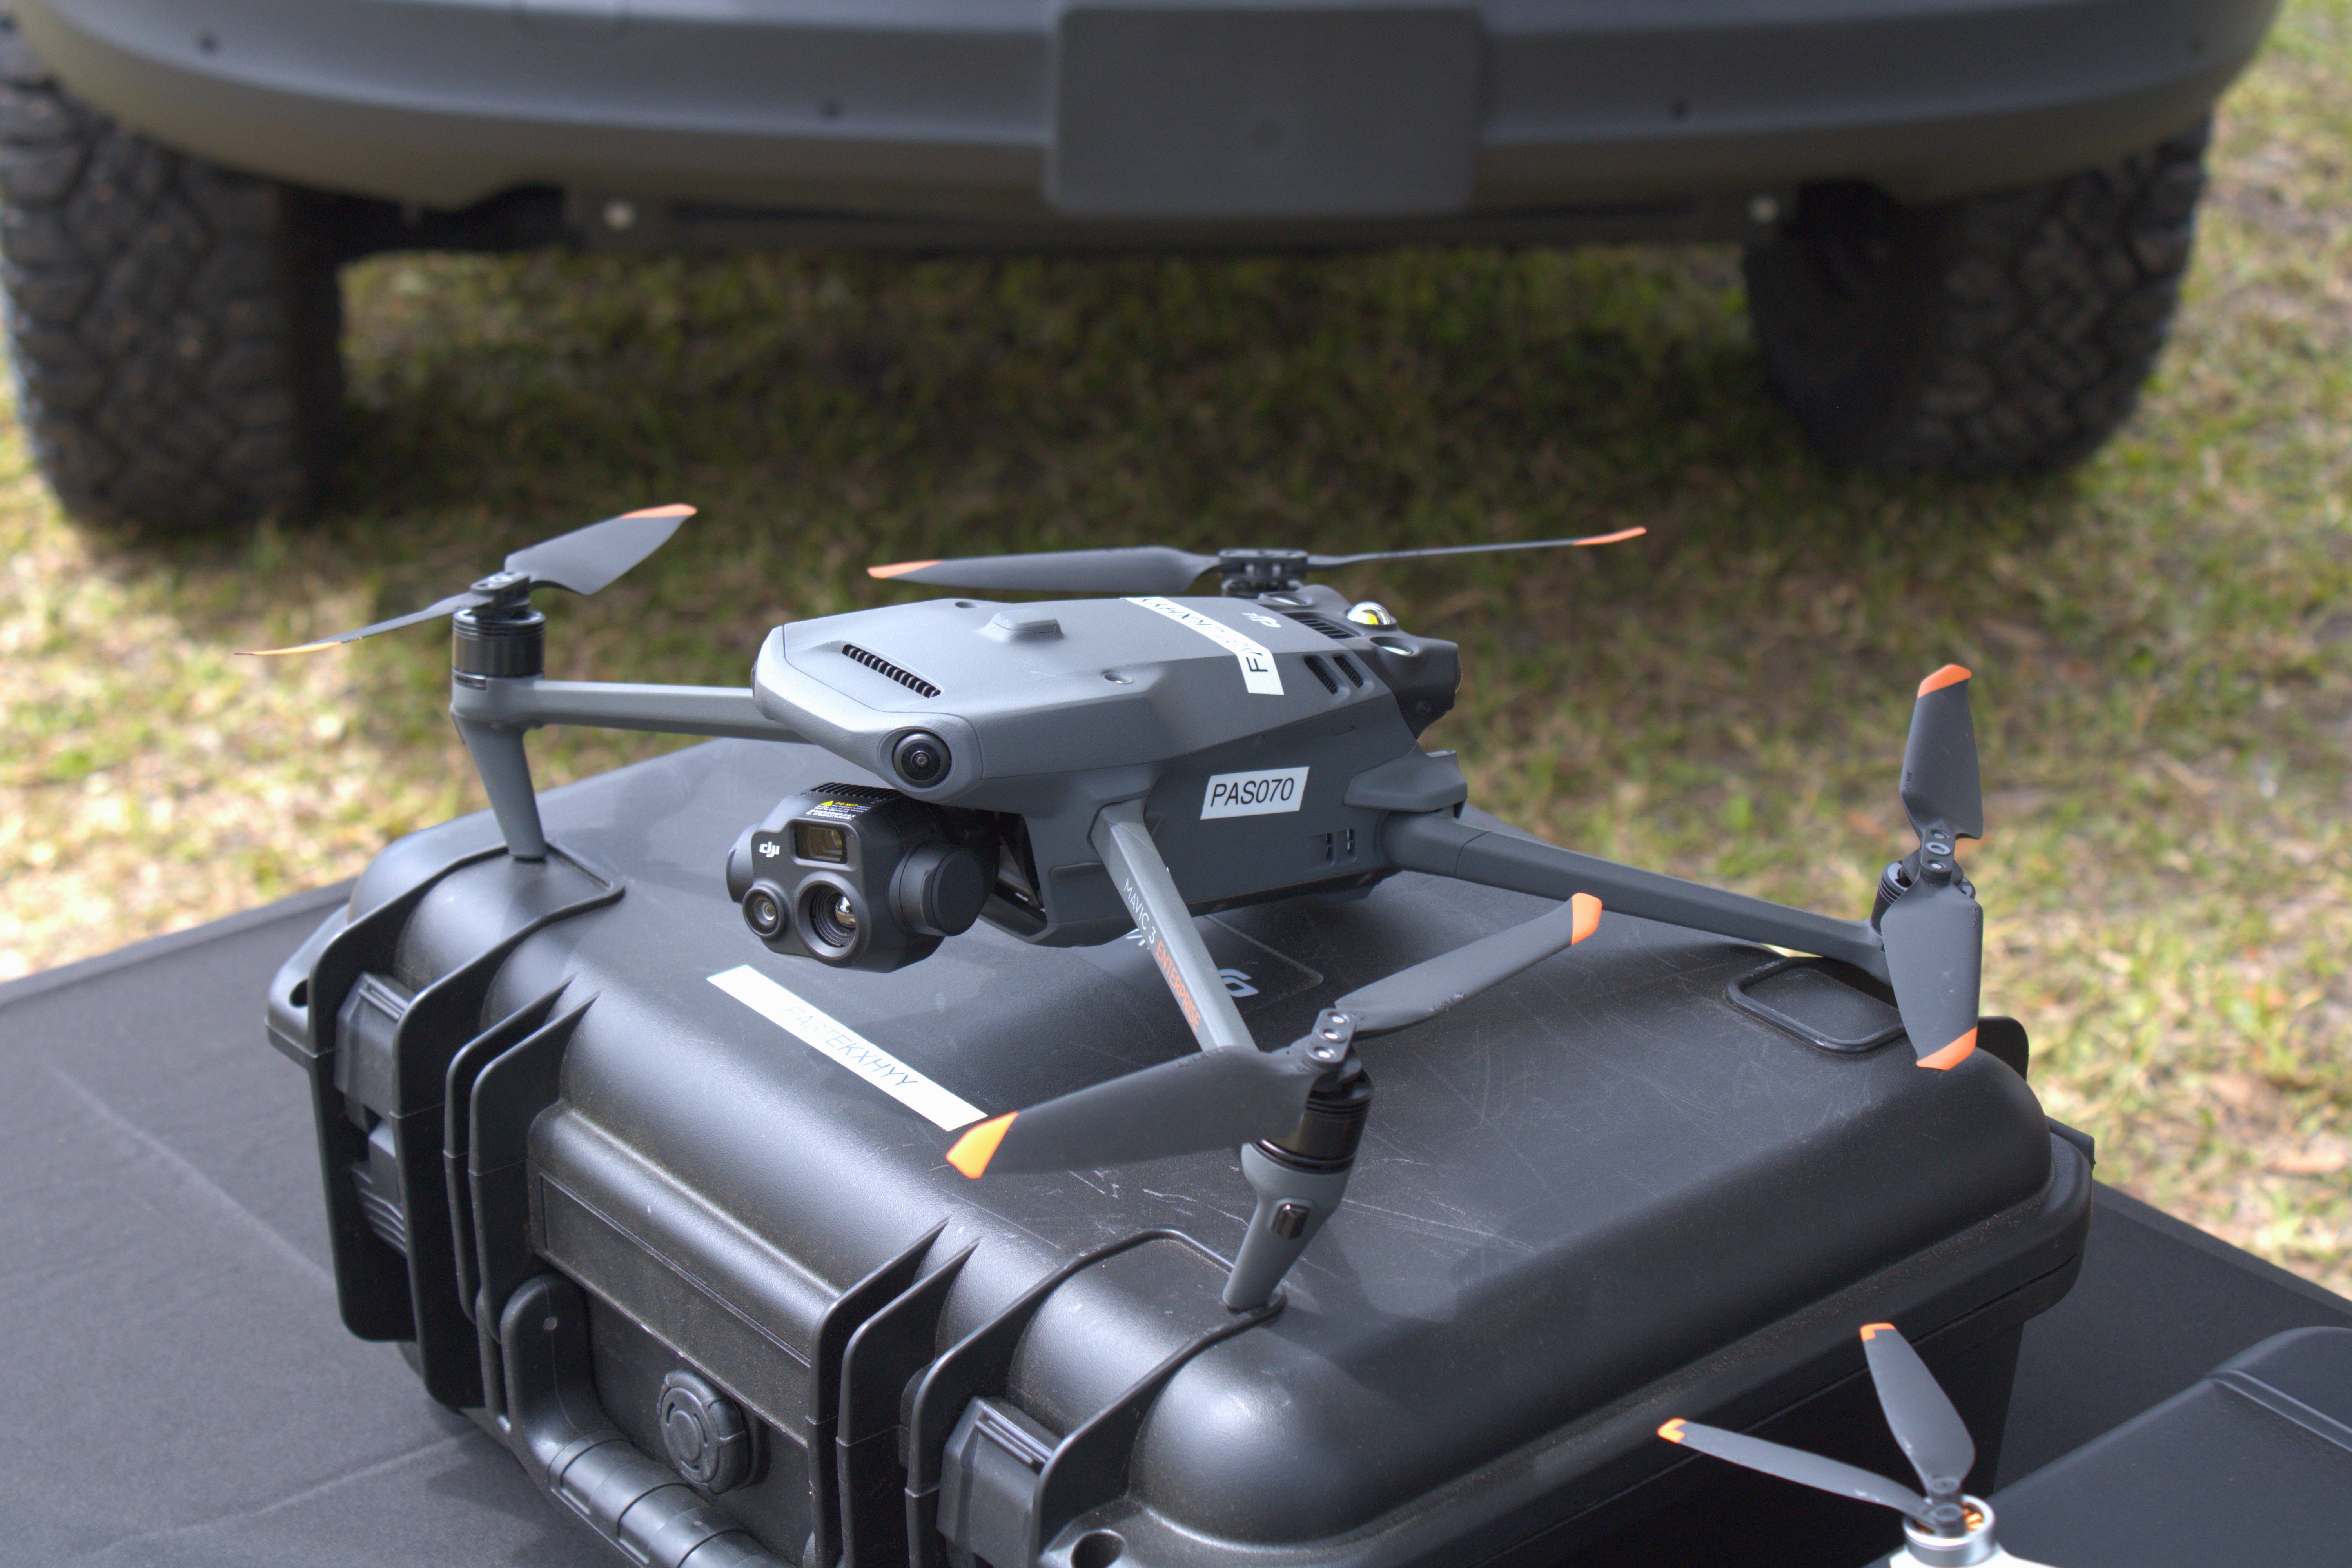
For a concrete specification example, DJI lists the Mavic 3T thermal camera at
640 × 512 pixels with NETD of no more than 50 mK at f/1.0. Its listed high-gain
measurement range is −20°C to 150°C, with accuracy of ±2°C or ±2%, whichever is
larger; low gain covers 0°C to 500°C with a different accuracy specification.
These are
manufacturer specifications,
not a promise that an airborne reading in your inspection environment will meet
them. The example illustrates why range, gain mode, sensitivity, and accuracy
need separate entries in a comparison.
The camera receives radiation emitted by the surface and radiation reflected
from its surroundings. Emissivity describes how effectively the surface
emits radiation relative to a blackbody at the same temperature. Low-emissivity
surfaces make reflected radiation especially consequential. A different-looking
patch therefore needs interpretation before it becomes a maintenance finding.
FLIR's
measurement-parameter documentation
identifies emissivity and reflected temperature as critical inputs, with
distance, air temperature, and humidity becoming relevant over longer paths. Ask
which parameters the proposed system records and which can be adjusted after
capture. The inspector must establish appropriate values for the actual surface
and conditions; selecting a material name is not proof that the correction is
right.
Request the manufacturer's calibration and service procedure, warm-up guidance,
and behavior during non-uniformity correction, which corrects fixed-pattern
differences across the image. Ask what target, distance, ambient conditions, and
gain mode underpin an advertised accuracy figure. Agree how measurement
performance will be checked for the job, including a suitable reference where
needed.
Specify the files you will receive
A useful purchase demonstration starts with original files from the exact
proposed camera and ends with the customer's deliverable. Work through it on the
software edition and version your team plans to use.
Request a sample package containing:
- Original radiometric captures, with the camera metadata preserved, if
temperature analysis is required.
- Visible context images that let an inspector identify the component or
surface shown thermally.
- Capture records identifying the asset, date and time, camera
configuration, viewpoint, relevant conditions, and measurement settings.
- An anomaly report connecting each finding to its original images,
measurement region, interpretation, and recommended follow-up.
- A numeric map export, when mapping is required, with documented
temperature units, coordinate reference, resolution, and treatment of missing
data.
Agree which items are mandatory for your inspection. A PDF report may be
convenient for maintenance staff, while original images and numeric exports
allow later reanalysis. Retaining both serves different needs.
Check the software product, not just the vendor name
Pix4D's
PIX4Dmapper thermal guidance
says ordinary colorized thermal JPEGs yield visualization rather than
recoverable temperature values. It also identifies radiometric-processing
limitations for newer image formats, including the Mavic 3T. “The application
imports the image” is therefore an incomplete compatibility answer.
The separate
PIX4Dmatic thermal documentation
says radiometric processing is supported from version 2.9.0 with Standard or Pro
licenses and lists the Mavic 3T among supported cameras. It also says not every
listed camera has been individually tested. These statements describe different
products and processing paths, so preserve the exact application name and
version in the proposal.
That PIX4Dmatic page specifies at least 640 × 480 image resolution and minimum
90% forward and side overlap for its thermal workflow. Those are
software-specific acquisition requirements, not a universal minimum for every
thermal inspection. They still matter to a buyer because a mapping requirement
can rule out a camera or change the time needed to capture a site.
Ask the vendor to open a delivered map and read a numeric temperature at a
selected location, then trace it back to an original image. Check whether
conversion retains radiometric metadata or fixes corrections into exported
values. If an export stores scaled numbers, require its scale, offset, and
units. Do not assume every file with the same extension preserves the same
information.
Choose an integrated aircraft or a separate payload
An integrated thermal aircraft suits a team that can use its established camera,
controller, and processing combination. A separate payload is worth evaluating
when an existing aircraft, specialized lens, custom data interface, or equipment
replacement strategy drives the requirement. Neither architecture removes the
need to verify the full configuration.
For a separate payload, request the supported mount, combined payload mass,
center-of-gravity limits, power supply, connectors, gimbal control, image
triggering, time synchronization, and storage path. Make the supplier identify
responsibility for the interface between aircraft and camera. The
drone payload integration checklist
expands those boundaries into specific decisions before flight.
For either architecture, request a demonstration of three separate functions:
aiming through the live view, recording full-quality files on board, and moving
those files into analysis. Confirm whether a recording survives a lost live feed
and how an interrupted transfer resumes. These are questions for the exact
system, not capabilities to infer from a video-transmission specification.
Put environmental limits and service arrangements beside the camera
specifications. Ask which limits apply to the complete aircraft-and-payload
assembly, how the lens is protected and maintained, whether the camera can be
serviced separately, and what equipment remains usable during repair. Obtain
supported firmware combinations in writing.
Compare lifecycle costs on the same basis
Ask each supplier to quote the same operating package and ownership period. A
camera-only quote and a ready-to-work aircraft package cannot be compared
without adding the missing equipment and services.
Use this budgeting expression with your organization's quotes and labor
assumptions:
Lifecycle cost = acquisition and integration + batteries and charging
equipment + software and storage + training + calibration and maintenance +
field and analysis labor + repair, downtime, and reflight allowances − expected
residual value.
Count only costs relevant to the proposal and avoid including the same allowance
twice. Treat residual value as uncertain; a zero-resale scenario shows whether
the decision depends on recovering money later.
For comparing inspection programs, divide that total by the number of accepted
inspection deliverables expected over the same period. Define a deliverable
consistently, such as one completed site report of agreed scope. Do not
substitute flight count: a flight that needs recollection still consumes labor
and equipment life.
The most useful sensitivity check changes workload, analyst time per report,
software renewal costs, and reflight frequency. A configuration that saves
capture time may add manual conversion or reporting work. Request renewal terms,
export rights after cancellation, storage-retention limits, repair turnaround
estimates, and the process for replacing an obsolete camera. These are
procurement inputs to obtain, not savings to assume.
Make the demonstration decide the purchase
Give shortlisted suppliers the same representative target, permitted distance,
required output, and operating conditions. Agree in advance what constitutes a
usable image and an acceptable measurement for that task. Then have the
supplier:
- Capture the smallest relevant feature at the proposed working distance and
show the original thermal pixels.
- Record gain mode, measurement settings, environmental conditions, and any
comparison reference used.
- Identify the same asset in the thermal image, visible image, and report.
- Process the files through the named software version and deliver the required
numeric outputs.
- Explain what happens when capture, recording, transfer, or processing fails,
and who supports recovery.
Choose the configuration that completes this demonstration with a workable
operating cost. If it cannot resolve the target or deliver the required data,
postpone that purchase and evaluate a different lens, capture method, or
inspection service. The right thermal drone camera is the one whose optics,
measurements, files, and support arrangements fit the work your team must
deliver.
Source notes
- FLIR: Understanding Distance:Size Ratio.
Manufacturer technical guidance on IFOV, target coverage, and measurement spot
size.
- FLIR: What You Need to Know About IR Detectors.
Manufacturer explanation of NETD and non-uniformity correction.
- FLIR: Measuring temperatures.
Camera documentation explaining measurement parameters and reflected
radiation.
- DJI Mavic 3 Enterprise specifications.
Official Mavic 3T thermal resolution, sensitivity, ranges, and gain-dependent
accuracy specifications.
- Pix4D: Processing thermal images in PIX4Dmapper.
Provider documentation on file formats, radiometric limitations, and
visualization outputs.
- Pix4D: Thermal Images in PIX4Dmatic.
Provider documentation on versions, licenses, supported cameras, and
acquisition requirements.
- ZLEA: DJI Mavic 3T photograph.
Original photograph at Sun 'n Fun 2024; featured image reproduced unmodified
under CC BY-SA 4.0.
Last checked: September 7, 2026.